Are you ready to elevate your homemade cocktails, iced coffees, and baked goods from good to truly exceptional? The secret weapon you might be missing is a perfectly balanced simple syrup. While readily available at the grocery store, once you discover just how to make simple syrup at home, you’ll likely never buy a bottle again. It’s incredibly easy, cost-effective, and gives you complete control over the sweetness and even the flavor profile of your creations. Forget gritty sugar settling at the bottom of your cold drinks; simple syrup offers seamless, liquid sweetness every time.
This comprehensive guide will walk you through the process of crafting both traditional 1:1 simple syrup and the richer 2:1 version, empowering you to unlock perfect sweetness in all your culinary adventures.
What Exactly is Simple Syrup? Your Liquid Sweetener Explained
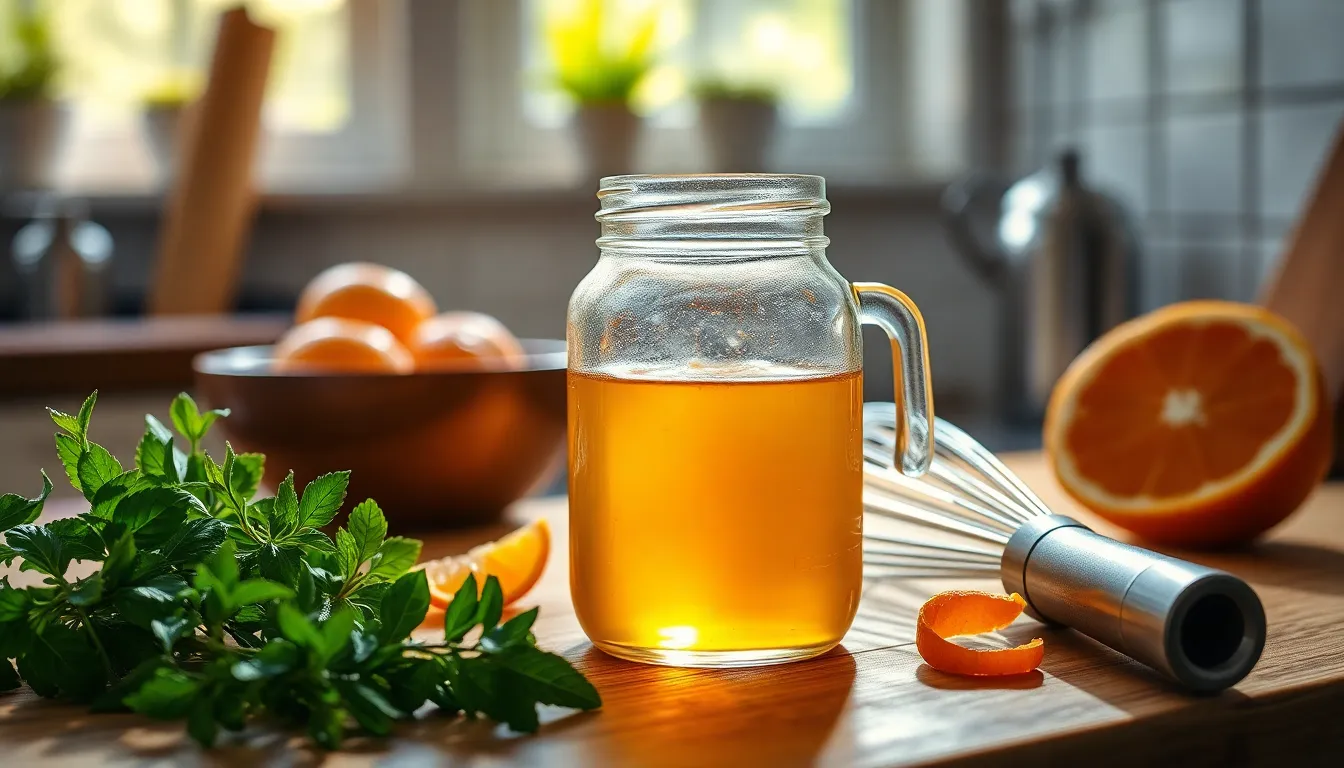
At its core, simple syrup is exactly what it sounds like: a liquid sweetener made by dissolving granulated sugar in water. Its magic lies in its dissolved state. When you add granulated sugar directly to cold beverages, it often struggles to fully dissolve, leaving a sugary sludge at the bottom and an inconsistent taste. Simple syrup, however, integrates flawlessly, ensuring every sip is perfectly sweet.
It's an indispensable ingredient for home bartenders, forming the backbone of countless classic and contemporary cocktails, from a refreshing Mojito to a balanced Whiskey Sour. But its utility extends far beyond the bar. Simple syrup is ideal for sweetening iced tea, iced coffee, lemonade, and even homemade sodas. Bakers also rely on it to moisten cake layers, create glazes, or add a touch of sweetness to fruit tarts.
The Sweet Science: Understanding Simple Syrup Ratios
The beauty of homemade simple syrup lies in its versatility, primarily governed by the sugar-to-water ratio. Depending on your desired sweetness and viscosity, you can opt for a standard simple syrup or a rich simple syrup.
Standard Simple Syrup: The 1:1 Ratio
The most common and widely used form, standard simple syrup, follows a straightforward 1:1 ratio of sugar to water. This means for every one part of sugar, you use one part of water.
- How it's made: Equal volumes (e.g., 1 cup sugar to 1 cup water) or equal weights (e.g., 8 ounces sugar to 8 ounces water) are combined and heated until the sugar completely dissolves.
- Characteristics: It has a lighter sweetness and a thinner consistency, similar to water but slightly more viscous.
- Best uses: This is your go-to for most cocktails, mocktails, iced teas, lemonades, and for moistening cakes where you don't want to add too much additional body or intense sweetness. It's perfectly balanced for everyday use.
Rich Simple Syrup: The 2:1 Ratio
For those who prefer a more potent sweetener or a thicker texture, rich simple syrup is the answer. It uses a 2:1 ratio of sugar to water, meaning two parts sugar for every one part water.
- How it's made: For example, 2 cups of sugar to 1 cup of water, or 16 ounces of sugar to 8 ounces of water. The higher sugar content requires a bit more care during heating to ensure full dissolution without scorching.
- Characteristics: Rich simple syrup is noticeably thicker, sweeter, and more viscous than its 1:1 counterpart. It adds more body to drinks.
- Best uses: Many professional bartenders favor rich simple syrup because it delivers more sweetness with less added liquid, which can be crucial in spirit-forward cocktails where dilution is a concern. It's excellent for drinks like an Old Fashioned or a Manhattan, where you want significant sweetness without watering down the spirits. It also has a slightly longer shelf life due to the higher sugar concentration.
A Note on Measuring Ingredients
While volumetric measurements (cups, tablespoons) work perfectly well for simple syrup, for ultimate precision, especially when experimenting with different ratios or larger batches, weighing your ingredients is often preferred. A kitchen scale ensures consistent results every time. Remember to use dry measuring cups for sugar and liquid measuring cups for water when measuring by volume.
Step-by-Step Guide: How to Make Simple Syrup at Home
Making simple syrup is a straightforward process that requires minimal ingredients and equipment. Here’s how you can do it:
Ingredients You'll Need:
- Granulated Sugar: Standard white granulated sugar is ideal for a neutral-flavored syrup. For rich simple syrup, you can also experiment with demerara or turbinado sugar for a deeper, molasses-like flavor, which pairs wonderfully with whiskies and rums.
- Water: Tap water is generally fine, but filtered water can provide a cleaner taste, especially if your tap water has a strong mineral or chlorine flavor.
Equipment:
- Small to medium saucepan
- Whisk or spoon
- Heat-proof, airtight container for storage (e.g., a Mason jar, swing-top bottle)
- Measuring cups or a kitchen scale
The Process:
- Combine Sugar and Water: Add your chosen ratio of sugar and water to the saucepan. For a 1:1 syrup, use equal parts (e.g., 1 cup sugar, 1 cup water). For a 2:1 rich syrup, use two parts sugar to one part water (e.g., 2 cups sugar, 1 cup water). Give it a quick stir before heating to help moisten the sugar and prevent sticking to the bottom.
- Dissolve the Sugar Over Medium Heat: Place the saucepan over medium heat. Stir occasionally until the sugar is completely dissolved. You'll know it's ready when the liquid is perfectly clear and you can no longer see any sugar granules swirling at the bottom. Do not let it boil vigorously; a gentle simmer is sufficient. Excessive boiling can evaporate too much water, altering your intended ratio.
- Remove from Heat and Cool: Once the sugar is fully dissolved, immediately remove the saucepan from the heat. Allow the simple syrup to cool completely to room temperature. This step is crucial before transferring to a storage container, as pouring hot syrup into a sealed glass container can create a vacuum or even crack the glass.
- Store the Syrup: Once fully cooled, carefully transfer your homemade simple syrup to a clean, airtight glass container. A Mason jar or a bottle with a tight-fitting lid works perfectly. Store it in the refrigerator.
For more detailed insights and to master your syrup-making skills, check out our guide on Master Simple Syrup: Easy Homemade Recipe for Cocktails & More.
Beyond the Basics: Elevating Your Homemade Simple Syrup
Once you've mastered the foundational recipe for how to make simple syrup, a world of flavorful possibilities opens up. Infused simple syrups can add incredible depth and complexity to your drinks and dishes, transforming them from ordinary to extraordinary.
Flavor Infusions:
Infusing your simple syrup is an easy way to add custom flavors. The general rule is to add your flavoring agents to the hot syrup *after* the sugar has dissolved and you've removed it from the heat. This prevents over-cooking delicate flavors and allows them to steep as the syrup cools.
- Herbal Syrups: Add fresh sprigs of mint, rosemary, basil, lavender, or thyme to the hot syrup and let them steep for 30-60 minutes, or until the desired flavor is achieved. Strain out the herbs before storing.
- Spice Syrups: Whole spices like cinnamon sticks, star anise, cloves, cardamom pods, or a split vanilla bean can be gently simmered with the sugar and water for 5-10 minutes to extract deeper flavors. Alternatively, steep them off-heat for a more subtle infusion.
- Fruit & Citrus Syrups: Muddled berries, sliced ginger, citrus zest (peels only, no white pith), or even sliced jalapeños can be added to the hot syrup and left to steep. For stronger fruit flavors, you can gently simmer the fruit with the syrup for a few minutes. Always strain out solids before storing.
Alternative Sugars:
While granulated white sugar is standard, don't be afraid to experiment:
- Demerara or Turbinado Sugar: These provide a deeper, slightly caramel-like flavor that works beautifully in whiskey-based cocktails. Use them primarily for rich simple syrups (2:1) to enhance their natural notes.
- Brown Sugar: Creates a molasses-rich syrup perfect for autumnal drinks or baking, though it can make your syrup slightly cloudy.
How Long Does Homemade Simple Syrup Last? (Storage & Shelf Life)
Proper storage is key to maximizing the life of your homemade simple syrup. Always transfer the cooled syrup to a clean, airtight glass container, such as a swing-top bottle or a Mason jar, and store it in the refrigerator.
- Standard (1:1) Simple Syrup: Generally lasts for up to 1 month when stored correctly in the refrigerator.
- Rich (2:1) Simple Syrup: Due to its higher sugar concentration, rich simple syrup can often last a bit longer, up to 2 months, in the refrigerator. Sugar acts as a preservative.
- Infused Simple Syrups: The addition of fresh ingredients (herbs, fruits, spices) can shorten the shelf life. Infused syrups typically last about 1-2 weeks in the refrigerator. Always check for signs of spoilage.
Always inspect your syrup before use. Any cloudiness, mold growth, or off-smell indicates it's time to discard the batch and make a fresh one. For more tips on extending shelf life and making the most of your DIY syrup, explore our guide on Skip Store-Bought: DIY Simple Syrup Lasts a Month & Elevates Drinks.
Using Your Homemade Simple Syrup: Beyond Cocktails
Your freshly made simple syrup is a versatile tool in the kitchen. Here are just a few ideas:
- Cocktails & Mocktails: The obvious choice! Use it in anything from a classic Margarita to a refreshing Mint Julep, or any non-alcoholic creation needing a touch of sweetness.
- Cold Beverages: Effortlessly sweeten iced tea, iced coffee, homemade lemonade, or a fruit punch without any undissolved sugar crystals.
- Baking & Desserts: Brush simple syrup onto cake layers to keep them moist and add flavor. Drizzle it over fresh fruit salads, ice cream, pancakes, or waffles. It can even be a base for sorbets or fruit purees.
- Flavoring & Glazing: Mix with honey for baklava, or use it to create shiny fruit glazes.
Conclusion
Learning how to make simple syrup at home is a foundational skill for anyone passionate about crafting superior drinks and desserts. It's an incredibly simple process that yields significant rewards, offering unparalleled control over sweetness, flavor, and texture. Whether you opt for the balanced 1:1 ratio or the luscious 2:1 rich syrup, you're equipping yourself with a versatile liquid sweetener that will undoubtedly elevate your culinary creations. So, skip the store-bought bottles, grab some sugar and water, and start unlocking perfect sweetness in your own kitchen today!
